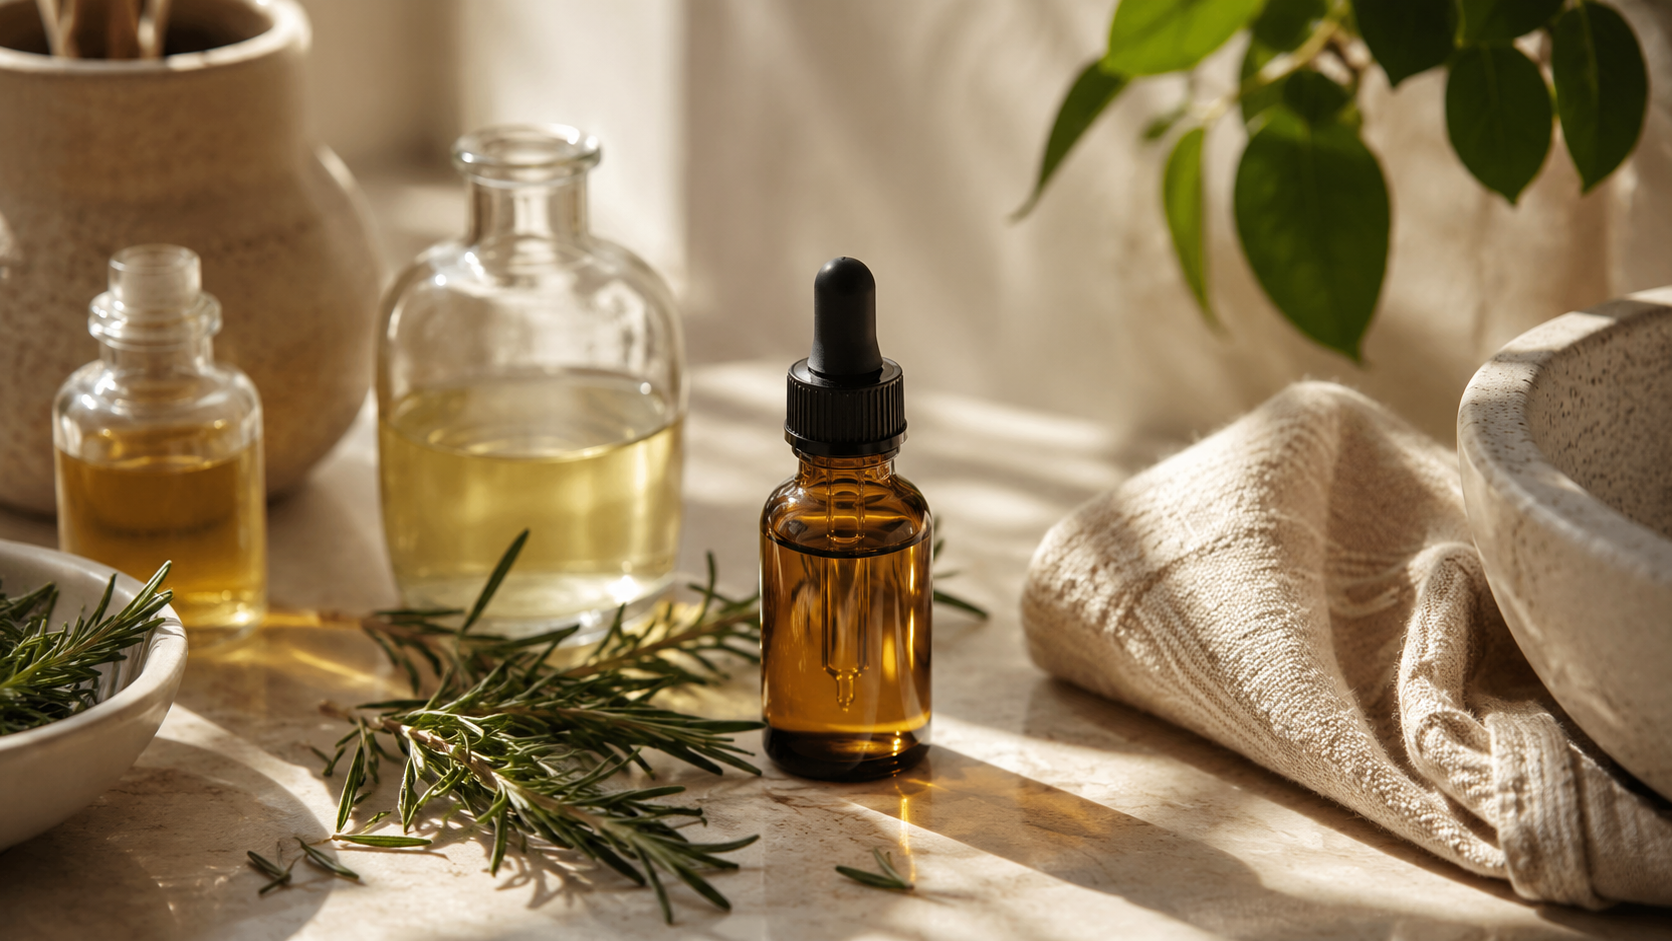
I want to tell you exactly where this recipe comes from, because it's not a trend I picked up — it's the thing that started my whole low tox rabbit hole.
A couple of years ago I found a few bald patches in my hairline. Small, but enough to send me into the kind of quiet panic you feel at the back of your neck. I'd already tried the pretty bottles — the "growth serums" with dreamy scents and big promises — and my bathroom shelf had quietly become a graveyard of them. So I stopped buying and started making, with three ingredients and a little brown bottle. That one kitchen experiment turned into homemade laundry detergent, fabric softener, perfume — the whole thing. But it started here.
This is that recipe. I'll give you the honest version of what the science actually says, the exact ratios I use, why the quality of the oils matters more than the list, and the safety stuff most DIY posts skip — because a hair oil that irritates your scalp isn't helping anyone.
First, the thing it took me too long to understand
Hair growth isn't really a hair problem. It's a scalp problem. And your scalp is skin — living, breathing skin that you can help or overwhelm like any other.
That was the click for me. You can have soft, shiny lengths and still have a scalp that's a little dry and tight, low on circulation, or coated in silicone and styling residue the shower never quite rinses away. When it's in that state, no oil — clean or otherwise — can do much. It just sits on top and makes your roots greasy. That was me, for years: doing all the "right" things, seeing nothing.

So this recipe isn't really about coating your hair. It's about giving the skin under your hair a better set of conditions — and then getting out of the way.
The honest science (because you deserve it, not hype)
You've probably seen rosemary oil called a "natural minoxidil." That's overselling it — but there's a real study under the hype, and it's worth knowing what it does and doesn't say.
A 2015 randomized trial put rosemary oil head-to-head with 2% minoxidil in 100 people with androgenetic alopecia (the genetic, pattern-type hair loss). After six months, both groups saw a similar, significant increase in hair count — and the rosemary group reported less scalp itching. Notably, neither group saw much at the three-month mark; the change showed up at six months. So this is a patience game, not an overnight fix.
Now the nuance, because I promised real information:
It's one small study, and it used minoxidil 2% — not the stronger 5% many people actually use.
It was specifically for androgenetic alopecia. If your hair loss has another cause, this isn't the same situation.
Rosemary seems to work partly by supporting circulation to the scalp, with possible anti-inflammatory effects — a plausible mechanism, but "plausible mechanism" isn't "guaranteed to work for you."
And the castor oil? The honest bit: it's been used for generations to nourish hair and make it feel thicker, but the clinical evidence for castor oil regrowing hair is limited. In this blend it's the nourishing, conditioning base — it makes hair feel richer and less brittle — while rosemary is the part with the hair-count study behind it. I'd rather you use this for what it actually is than for a promise it can't keep.
The realistic expectation: a gentle, supportive routine that some people respond to over months. Not a cure, and not a fix for every kind of hair loss. If yours is sudden, patchy, or rapid, skip to the "when to see a professional" section below — please.
Why most DIY hair oils don't do anything
I tried a lot of the recipes floating around online. My hair felt heavy and greasy, and that was about it. Two things were quietly going wrong, and they're worth knowing before you make yours:
The oils themselves weren't clean. Cheap carrier oils are often bleached, deodorized, and processed at high heat, which strips out most of the good stuff. By the time they reach the shelf they're close to empty calories for your scalp. This is the one place I'd tell you the sourcing genuinely matters — not as a marketing flex, but because a refined, solvent-extracted oil is doing less work.
The blend had no logic. Not all oils do the same job. Some are heavy and seal moisture in; some are light and actually absorb; a botanical can gently stimulate. Tip a random handful into a bottle and you're just moisturizing — not creating conditions for anything. What works is a small, deliberate balance: one oil to nourish, one lightweight oil that absorbs, one botanical to wake the scalp up. Which is exactly what these three are.
What you'll need
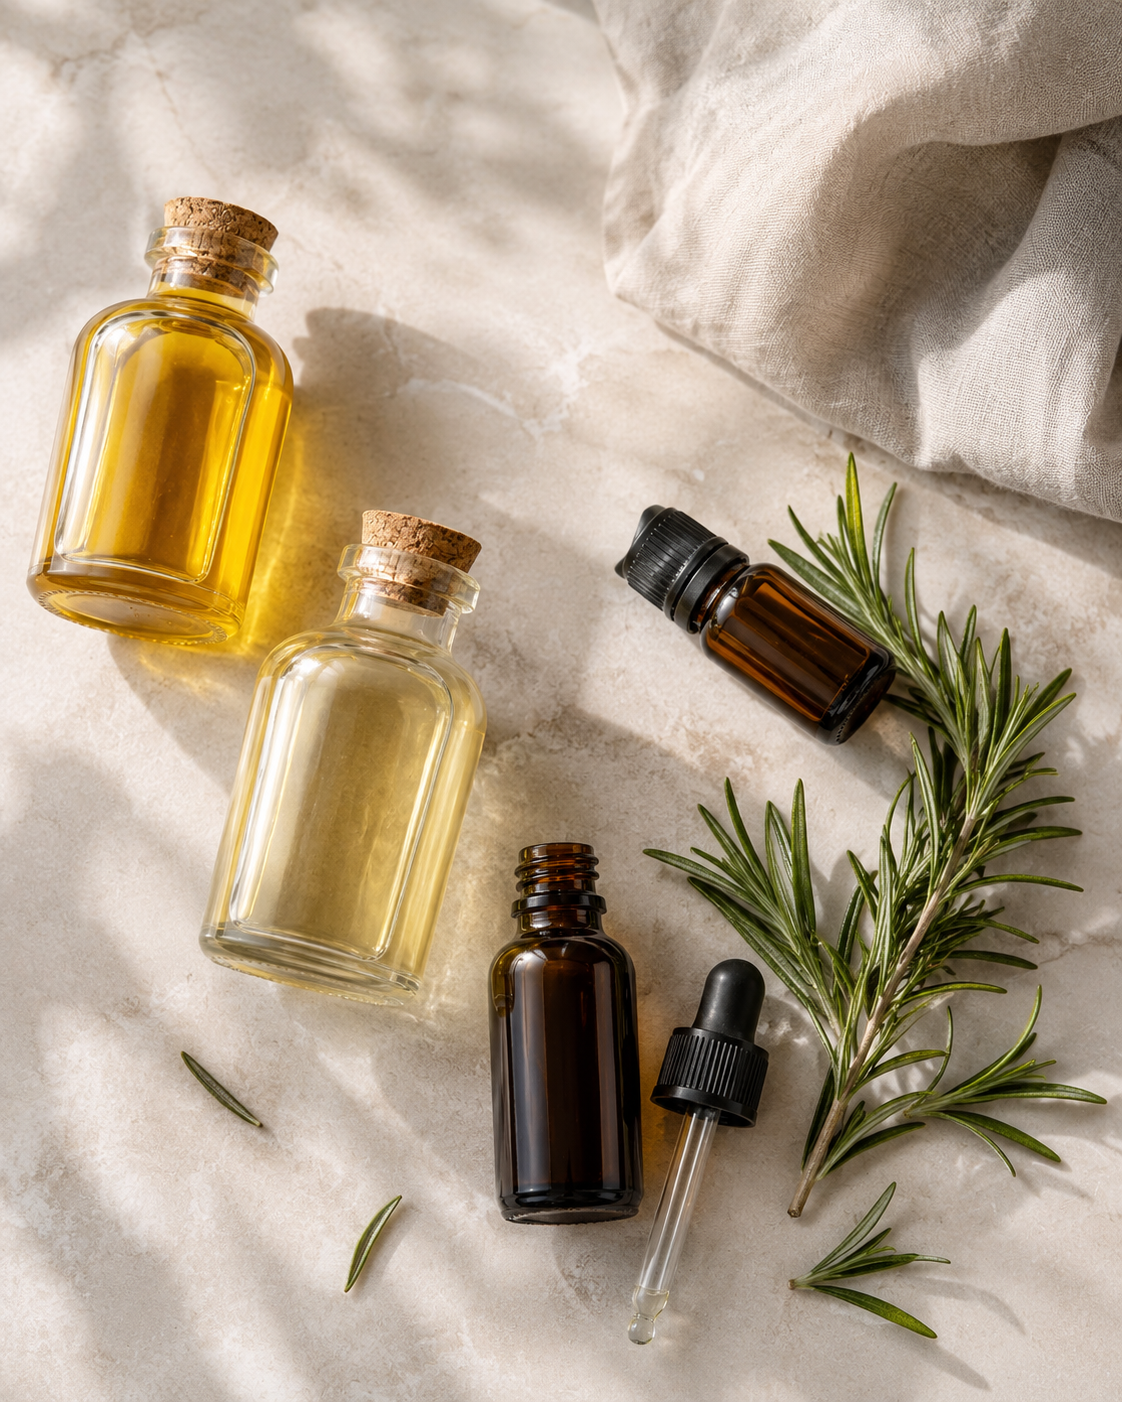
The whole point of a low-tox blend is that each ingredient earns its place — so quality does more here than quantity.
Castor oil — 1 tablespoon (15 ml). The thick, nourishing base. Look for cold-pressed, hexane-free (unrefined Jamaican black castor oil is lovely). Skip anything just labeled "castor oil" with no sourcing detail — that's usually solvent-extracted.
Jojoba oil — 1 tablespoon (15 ml). The lightweight oil that helps the blend absorb instead of sitting on top. Jojoba is close to your scalp's own sebum, which is why it doesn't feel heavy. (Grapeseed works too if that's what you have.)
Rosemary essential oil — a real, pure essential oil, not a "fragrance oil." Fragrance oils are synthetic — exactly what we're avoiding. The amount matters for safety; see below.
A small dark glass bottle — amber or cobalt, ideally with a dropper. Dark glass protects the oils from light; glass because essential oils degrade some plastics over time.
That's it. Three oils and a bottle.
The dilution that keeps it safe
This is the part I won't let you skip. Rosemary essential oil is potent, and undiluted essential oils on skin are the fastest way to earn a rash or a sensitivity you can't take back.
For a leave-on scalp product you want rosemary at about a 1% dilution. With the 2 tablespoons (30 ml) of base oils above, that's roughly 6 drops.
Start there. You can nudge up slightly later once you know your scalp is happy, but more rosemary is not more growth — it's just more irritation risk. If your skin is sensitive, stay at 6.
How to make it
Add the castor oil and jojoba to the bottle in equal parts.
Add 6 drops of rosemary for a gentle 1% dilution.
Cap it and roll it gently between your palms to combine — no hard shaking needed.
Label it with the date. Oils don't last forever (more below).
Two minutes, honestly. One thing before it touches your scalp, though: dab a little inside your elbow and leave it 24 hours first. If there's any redness or itching, that blend isn't for you — drop the rosemary lower or skip it. Do it even if you've used rosemary before; skin changes, and it's a cheap insurance against a week of angry, flaky scalp.
How I actually use it
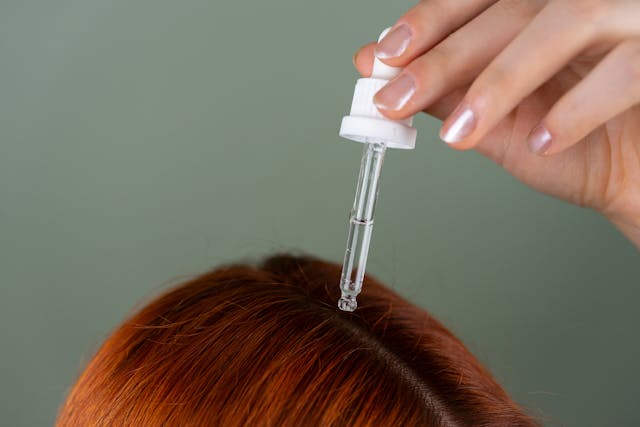
Apply to a dry scalp before washing, focusing on the hairline, temples, and crown. Massage a few minutes — this is where the circulation actually happens, and it's half the point.
Let it sit 20–30 minutes, then wash out with a gentle, fragrance-free shampoo. Not overnight while you're starting — you want to see how your scalp reacts first.
Two or three times a week is the sweet spot. More than that and my hair just feels weighed down — even clean ingredients can be too much of a good thing.
Give it three to six months before you judge it. Remember: in the study, nothing measurable happened until month six. Consistency is the whole game.
What actually changed for me
The first thing I noticed wasn't new growth — it was less shedding. My scalp felt softer, calmer, less tight. The settled feeling I now associate with using fewer, cleaner products in general.
A few weeks in, the baby hairs turned up around my hairline — the wispy ones that catch the light and refuse to lay flat. Annoying in photos, secretly thrilling in the mirror.
I'll be honest about what this was and wasn't: I also cleaned up the rest of my routine at the same time — gentler shampoo, fewer styling products, honest ingredient lists. So I can't hand the whole result to one bottle. The oil was part of a "less, but better" shift, and that shift is the real active ingredient.
How long it keeps
No water in this blend, which is good news — oil-only formulas don't grow bacteria the way water-based ones do. But oils still go rancid. Made fresh and kept somewhere cool and dark, a batch is good for around 3 months. If it ever smells sharp, sour, or "off" like old nuts, that's rancidity — bin it and make a fresh one. It's cheap to remake; don't push it.
When to skip the DIY and see a professional
I'm a make-my-own-everything person, and even I'll tell you plainly: a hair oil is not a diagnosis. Please see a doctor or dermatologist instead of relying on this if:
Your hair loss is sudden, rapid, or coming out in patches — this can point to a medical cause (thyroid, iron deficiency, and others) that an oil won't touch.
You're losing hair after illness, a major stressor, pregnancy, or a new medication.
Your scalp is painful, inflamed, scaly, or scarring — that needs real medical attention, not essential oils.
You want the strongest evidence-based option. For advanced pattern hair loss, minoxidil (especially 5% or oral) and other clinician-guided treatments simply have more research behind them. Rosemary oil is a lovely gentle supporter, not a replacement for medical care when you need it.
There's no shame in this — figuring out the cause first is the thing that actually protects your hair.
Take the recipe with you
Here's the thing about a hair oil: it only works if you actually keep making it, and that's easier when the recipe isn't buried in a browser tab you'll lose by Thursday.
So I put the whole thing — the ratios, the 1% dilution math, the patch-test reminder, and the "how long it keeps" note — on a single printable card you can tape inside a cabinet or save to your phone. It's free; I'll just send it to your inbox, no spam — you already know that's not my style. Grab the printable recipe card here.
And if you'd rather just poke around first, that's completely fine too — keep reading below.
This was my very first low tox swap, and it's still the one I'm most attached to — partly because it worked its way into my routine slowly, and partly because it's the reason I started making everything else. If you're new to all this and wondering where to begin more broadly, start with my low tox beginner's guide — the "one bottle at a time" approach that keeps this from becoming overwhelming. And if you're the skeptical type who wants to know whether any of this is even worth it before you commit, read this first.
A note, friend to friend: nothing here is medical advice, and I'm not a doctor. This is what I do in my own kitchen. Your scalp, your call — and a real professional beats a blog post every time when something feels wrong.